


So while black friday shopping, I was looking for a desk chair for when my dad and I finish making my desk and found this at a local thrift store for $13:

And of course I had to buy it considering I was looking into $40 chairs that look the same.
But I wasn't too fond of the print. Don't get me wrong, it's cute, but not exactly my taste. Lately I've been into ombre, and thought I would try dip dyeing some fabric for the first time for this project.
Considering it was my first ombre project, I think I did a decent job (Maybe?).
Materials I Used:
Two 25" x 23" pieces and two 23" x 17" pieces of white fabric - or Add 7 inches to the length and width of your fabric
(I used Muslin which may have not been the best option but it worked well enough, and it was on sale!)
(I used Muslin which may have not been the best option but it worked well enough, and it was on sale!)
String or Cord
Fabric Dye
Bucket
Gloves
***I used two pieces of fabric because my fabric was sheer. You may only need one of each depending on your type of fabric. I only dyed one of each measurement and left the other all white.***
First, you'll need to dye your fabric. I used Teal Rit Dye.

Boil 2 gallons of water and put it in a bucket/container. Pour 1/3 cup of your dye into the mixture and stir.

Put your fabrics about halfway in or to where you want the color to start. Let it soak for about five minutes.

After the five minutes, pull your fabric up to where you want the next color to go. Add another 1/3 of a cup and stir. Let it sit for 3-5 minutes.

Pull out your fabric some more and add another 1/3 of a cup. Let it sit for 3-5 minutes.

If you have a longer chair or you need a longer piece of fabric, you can add more layers of color by adding more die.
Pull the fabric out of your container and squeeze it out (make sure to wear gloves!) as much as you can and wash it in cold water. Hang over a bucket or the tub to dry out a little bit.
Pull the fabric out of your container and squeeze it out (make sure to wear gloves!) as much as you can and wash it in cold water. Hang over a bucket or the tub to dry out a little bit.

Now wash in the washer for a couple of minutes and hang to dry.
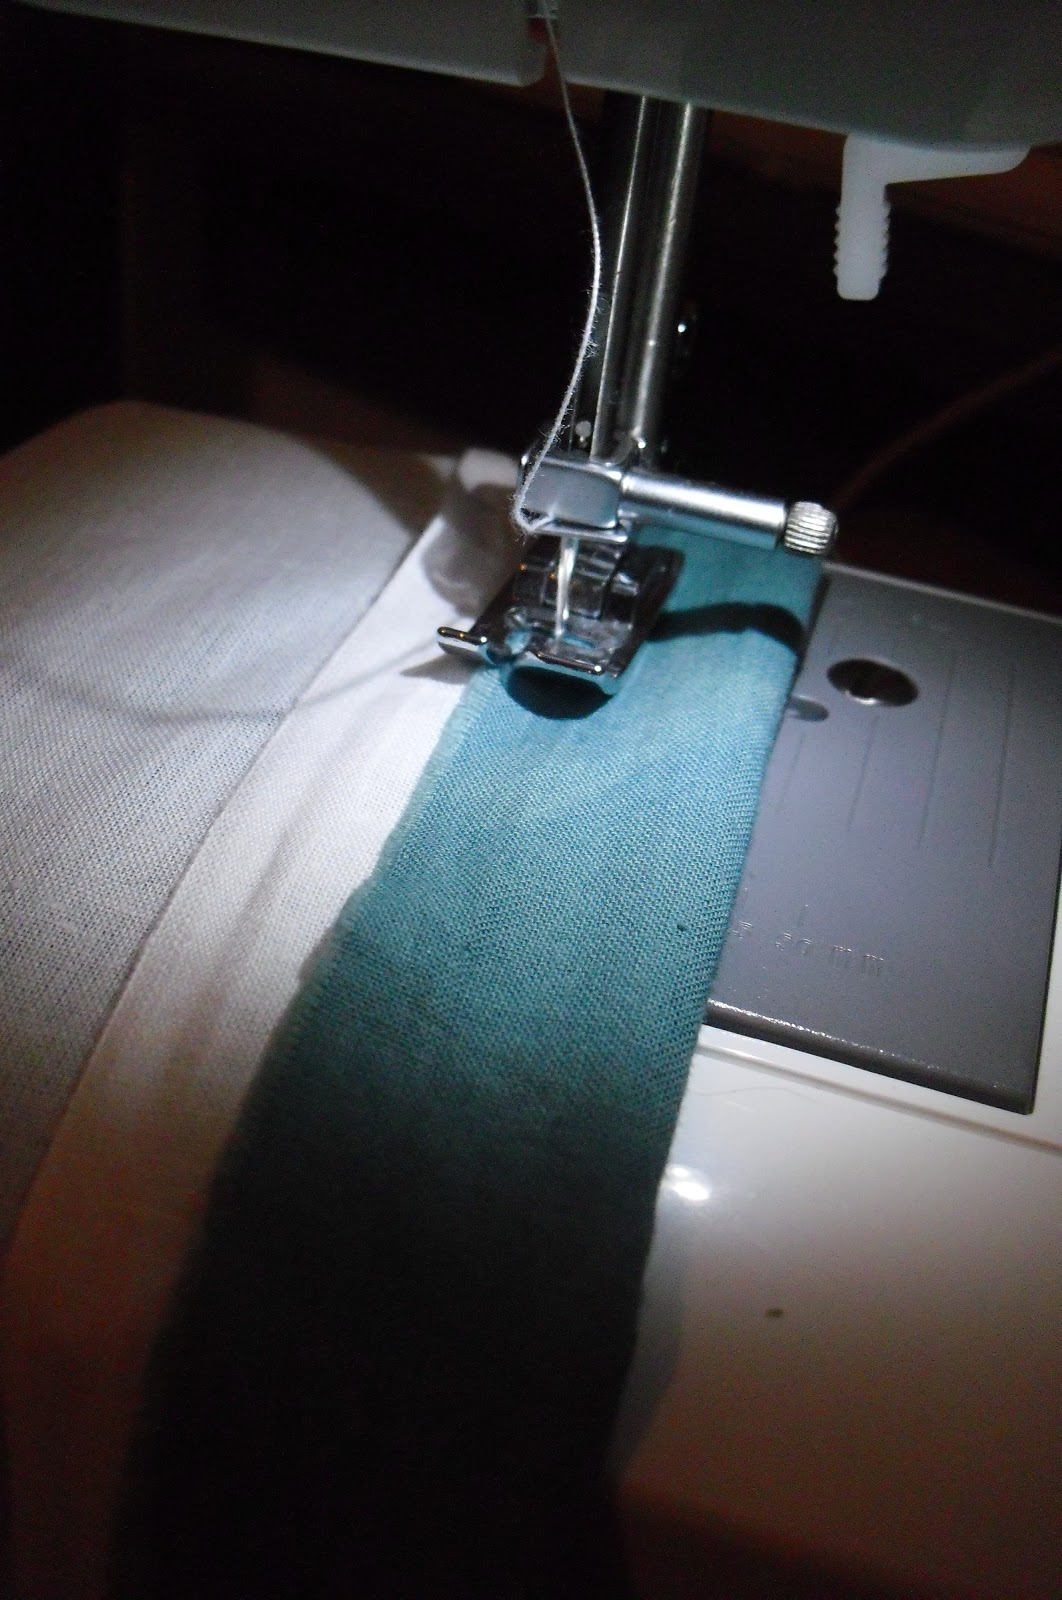
Once it is completely dry, line up your fabrics. Make rounded corners and pin for a 1-1/2 inch casing.

Sew. Don't worry too much if your fabric bunches up a little, the edges will be underneath the chair anyways.
Now, don't be stupid like me and forget to make a buttonhole before sewing the casing! If you do just cut a makeshift hole. Tie some string or cord to a safety pin and feed it through.

Fit your cover over your chair. Pull the string/cord as tight as you can and tuck the extra underneath the cover.

And now you have an almost new chair! :)

Special thanks to craftyjules.weebly.com for the inspiration on this project! She's amazing!
If you have a question I'd love to help :)
No comments:
Post a Comment